Explore CloudFoundry using Stackato and VirtualBox

Stackato, which is released by ActiveState, extends out of the box CloudFoundry. It adds a web interface and a command line client (‘stackato’), although the existing ‘cf’ command line client still works (as long as versions match up). Stackato includes some autoscale features and a very well done set of documentation.
ActiveState publishes various VM images that can be used to quickly spin up a development environment. These include images for VMWare, KVM and VirtualBox, among others. In this post I’ll walk through getting a Stackato environment running on Windows using VirtualBox.
Install and Configure Stackato
The obvious first step is to download and install VirtualBox. The steps shown below should work on any system that runs VirtualBox.
I follow these steps to install and configure the Stackato VM.
http://docs.stackato.com/admin/setup/microcloud.html
After downloading the VirtualBox images for Stackato, from VirtualBox I click “File->Import Appliance” and navigating to the unzipped contents of the VM download. I select the OVF file and click open.

This process can take several minutes depending on your system.

After clicking next, you can configure various settings. Click the checkbox to Reinitialize the MAC address on all network cards.

Once the import completes, right click on the VM in VirtualBox and choose settings.

Navigate to the network settings and make sure it’s set to Bridged. The default is NAT. Bridged will allow the VM to obtain it’s own IP address on the network. This will facilitate access later on.

Depending on your system resources, you may also want to go into the System settings and increase the Base Memory and number of Processors. You can also ensure that all virtualization accelerators are enabled.
Launch the Stackato VM
After you click OK, the VM is ready to launch. When you launch the VM, there is an initial message asking if you want to boot into recovery mode. Choose regular boot and you will then see a message about the initial setup.

Eventually the screen will show system status. You’ll notice that it bounces around until it finally settles on a green READY status.

At this point you have a running instance of Stackato.
Configure Stackato
You can see in the above screenshot that Stackato displays a URL for the management console and the IP address of the system. In order to complete the configuration of the system (and before you can SSH into the server), you need to access the web console using that URL. This may require that you edit your local hosts file (/etc/hosts on Linux or C:\Windows\System32\drivers\etc\hosts on Windows). The entries in your hosts file should look something like this:
16.85.146.131 stackato-7kgb.local 16.85.146.131 api.stackato-7kgb.local |
You can now access the console using https://api.stackato-7kgb.local. Don’t forget to put “http://” in front so the browser knows to request that URL rather than search for it. The server is also using a self-signed certificate, so you can expect your browser to complain. It’s OK to tell your browser to load the page despite the self-signed certificate.
On the page that loads, you need to provide a username, email address, and some other details to configure this Stakcato installation. Provide the requested details and click to setup the initial admin user.
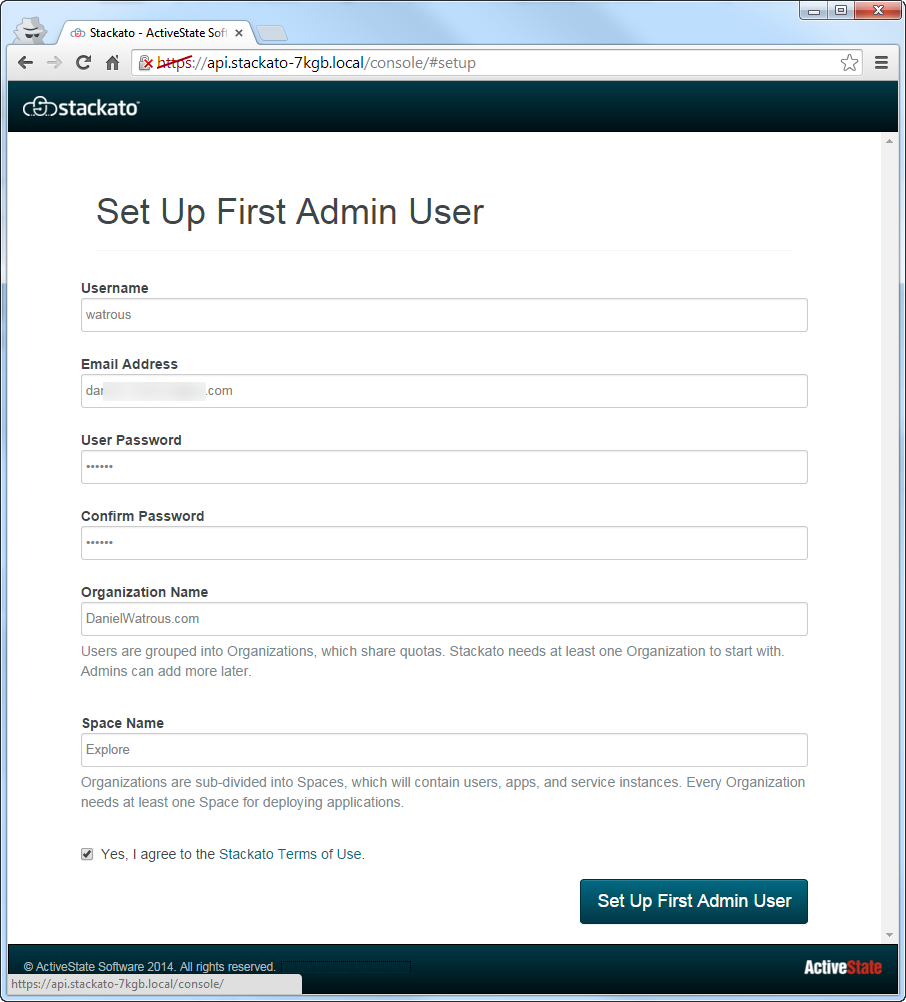
A couple of things just happened. First off, a user was created with the username you provide. The password you chose will also become the password for the system user ‘stackato‘. This is important because it allows you to SSH into your instance.
Wildcard DNS
Widlcard DNS, using a service like xip.io, will make it easier to access Stackato and any applications that you deploy there. First we log in to our VM over SSH and we use the node rename command to enable wildcard DNS.
kato node rename 16.85.146.131.xip.io |
Stopping and starting related roles takes a few minutes after running the command above. Once the server returns to READY state, the console is available using the xip.io address, https://api.16.85.146.131.xip.io. This also applies to any applications that are deployed.
The entries in the local hosts file are no longer needed and can be removed.
Proxy Configuration
Many enterprise environments route internet access through a proxy. If this is the case for you, it’s possible to identify the upstream proxy for all Stackato related services. Run the following commands on the Stackato VM to enable proxy access.
kato op upstream_proxy set proxy.domain.com:8080 sudo /etc/init.d/polipo restart |
It may also be necessary to set the http_proxy and https_proxy environment variables by way of the .bashrc for the stackato system user.
At this point you should be able to easily deploy a new app from the app store using the Stackato console. Let’s turn our attention now to using a client to deploy a simple app.
Use the stackato CLI to Deploy an App
The same virtual host that is running Stackato also includes the command line client. That meas it can be used to deploy a simple application and verify that Stackato is working properly. To do this, first connect to the VM using SSH. Once connected, the following steps will prepare the command line client to deploy a simple application.
- set the target
- login/authenticate
- push the app
To set the target and login, we use these commands
stackato target api.16.85.146.131.xip.io
stackato login watrous |
The output of the commands can be seen in the image below:

Example Python App
There is a simple python bottle application we can use to confirm our Stackato deployment. To deploy we first clone, then use the stackato client to push, as shown below.

Here are those commands in plain text:
git clone https://github.com/Stackato-Apps/bottle-py3.git cd bottle-py3/ stackato push -n |
Using the URL provided in the output from ‘stackato push’ we can view the new app.

You can now scale up instances and manage other aspects of the app using the web console or the stackato client.
This worked great for me, even on a fairly lacklustre workstation.
If anyone needs to use cntlm to pass through a corporate NTLM proxy, you can configure a Host-only adapter (rather than a Bridged adapter) in Virtual Box, add the line ‘Listen 192.168.56.1:3128’ to your cntlm.ini file, and configure the proxy settings in the VM to use 192.168.56.1:3128. This has the advantage of not taking up a DHCP address on your real LAN, ensuring the IP address of your cloud stays constant, and (where applicable) not violating company policies regarding running servers.
I have Oracle’s virtual box and I want to know how to get the OVA file associated with HPE-Stackato-4.0 for mac-osx.
Need filename and the download site url.
Thanks,
–shekhar!
I don’t think Stackato is a product anymore. If it is, you’ll probably have to go to MicroFocus for it.